
Views: 0 Author: Site Editor Publish Time: 2026-06-14 Origin: Site


Walking out to your driveway only to see your vehicle fully illuminated often triggers instant panic. You immediately recognize the urgency of parasitic battery drain. A vehicle refusing to "sleep" leaves you stranded the next morning. It creates intense frustration for any driver.
This guide moves past basic guesses and internet rumors. We provide a professional, mechanic-level diagnostic tree. You will isolate the exact fault quickly and accurately. It might be a simple physical switch. It could be a failing electrical relay. Occasionally, it involves a complex Body Control Module (BCM) fault.
We base these steps on standard automotive electrical diagnostic procedures. Safety remains our highest priority throughout this process. Definitive problem isolation prevents unnecessary parts swapping. You will learn exactly how to trace the circuit safely. We will help you understand your lighting system intimately. Let us solve this electrical mystery together before your battery goes completely flat.
Immediate Action: Disconnecting the battery or pulling the specific lighting fuse is the only guaranteed way to stop immediate battery drain while diagnosing.
Common Culprits: 80% of interior light issues stem from bumped dimmer switches or sticky door latch sensors; exterior light issues often point to fused relays.
Resolution Path: Solutions range from a zero-cost switch adjustment to replacing damaged harnesses or upgrading to premium car lights with integrated, reliable circuitry.
Diagnostic Reality: Blindly replacing parts without testing circuits often leads to wasted money; a multimeter is required for a definitive diagnosis.
Before diagnosing the root cause, your immediate success criterion is preserving battery life. Automotive batteries handle starting tasks beautifully. They absolutely hate deep, prolonged electrical discharges. A standard battery drains completely in four to eight hours if exterior lights remain active. Left unchecked, this ruins the chemical integrity of the cells.
You must stop the power flow immediately. You have two primary methods to accomplish this task. Both require minimal tools and zero automotive expertise.
Consult your manual: Grab your owner's manual from the glovebox. Locate the vehicle fuse diagrams.
Locate the fuse box: Modern vehicles typically feature two main fuse boxes. One sits under the dashboard. The other rests inside the engine bay near the battery.
Identify the circuit: Look for specific labels. Find the fuse marked "Dome," "ILLUM," "Headlamp," or "Tail."
Pull the fuse: Use the small plastic fuse puller located inside the fuse box cover. Alternatively, gently extract the fuse using needle-nose pliers. The lights should extinguish immediately.
Sometimes you cannot find the correct fuse. Some fuse boxes sit in highly inaccessible locations. In these cases, you must use the alternative method. Grab a 10mm wrench. Loosen the nut on the negative battery terminal. Wiggle the black cable off the battery post. Tuck it away safely so it cannot spring back into contact.
Disconnecting the battery carries minor consequences. You will likely lose your saved radio presets. The vehicle clock will reset to zero. More importantly, this action clears your engine readiness monitors. Your vehicle will not pass a state emissions inspection until you complete a full drive cycle. Keep this disclaimer in mind before disconnecting the main power.
You successfully stopped the drain. Now you must narrow down the diagnostic tree. Automotive lighting splits into two distinct categories. They use entirely different control mechanisms. Differentiating the active lighting zones dictates your next steps.
Interior lighting systems rely heavily on manual inputs and physical door mechanisms. They operate on relatively low electrical current.
The most frequent culprit is the dimmer switch override. Many drivers accidentally click the dashboard illumination wheel upward past its detent. This locks the interior dome bulbs into a permanent "ON" position. We see this issue constantly in Ford, General Motors, and Dodge models. You might bump this dial while cleaning the dashboard. Always check this dial first before touching any tools.
Door jamb sensors represent the second highest failure point. These small microswitches tell the vehicle computer when a door opens. Dirt builds up heavily in these areas. Metal springs inside the switches wear out over time. Physical damage occurs from slamming seatbelts into the door frame. When a sensor fails or sticks, the car firmly believes a door remains open. The cabin interior remains illuminated indefinitely.
Exterior systems handle massive electrical loads. They require heavy-duty relays and complex computer timing modules.
Stuck relays cause significant headaches. A relay acts as a remote-controlled electrical bridge. Heavy current flows across internal metal contacts. Every time these contacts close, a microscopic electrical arc occurs. Over thousands of cycles, this arcing creates extreme heat. The metal contacts physically weld together. The circuit stays permanently closed. The car lights remain blazing even when you remove the ignition key.
Brake lights staying on point to a very specific, isolated failure. Look directly above your brake pedal arm. You will find a small plunger switch. A rubber or plastic stopper on the pedal arm presses against this switch. Age causes this stopper to become brittle and shatter. You will often find broken plastic pieces resting on your floor mat. Without the stopper, the plunger extends fully. The vehicle believes you are actively pressing the brake pedal.
The Body Control Module (BCM) governs advanced lighting timing. It controls delay features and automatic headlamp sensors. This central computer faces environmental threats. Moisture ingress causes severe internal corrosion. Short circuits burn out delicate integrated chips. When a BCM fails, it sends erratic, unstoppable voltage commands to the exterior housings.
We approach electrical issues systematically. Guesswork drains your wallet rapidly. This strict, step-by-step evaluation framework prevents unnecessary parts replacement. Follow these steps in exact order.
Step 1: The Visual & Physical Audit
Start with human error. Check every single door manually. Open and firmly close the driver door, passenger doors, trunk, and hood. Ensure no seatbelts obstruct the latches. Next, inspect the manual override dials. Rotate the interior dimmer switch all the way down. Turn the main headlamp switch from "Auto" to "Off." Observe the vehicle exterior. If the bulbs turn off, you solved the issue for free.
Step 2: The Sensor Tap Test
If interior bulbs remain active, target the door jamb microswitches. Locate the small rubber-coated buttons inside the door frames. Depress them manually using your thumb. Push them in and out rapidly. They should click smoothly. If they feel sticky or rigid, they require attention. Spray the latch assemblies heavily with electrical contact cleaner. Wipe away the grime. This often frees the stuck microswitch immediately.
Step 3: Relay Swapping (The Free Test)
Exterior faults require relay testing. Open your main under-hood fuse block. Locate the specific relay governing the problem circuit. Next, locate an identical, non-critical relay. The horn relay or air conditioning relay works perfectly. They must share the exact same part number and pin layout. Pull the suspected bad relay out. Insert the good horn relay into its slot. Reconnect your battery. If the exterior bulbs remain off, you found the culprit. The original relay welded itself shut.
Step 4: Multimeter Continuity Testing
Professional diagnosis requires absolute proof. Grab a digital multimeter. Set the dial to the continuity setting. It usually displays a small sound wave icon. Touch the two probes together. You will hear a sharp beep. Now, test your removed relay. Touch the probes to the load-bearing pins (usually pins 30 and 87). If the multimeter beeps while the relay sits on your workbench, it has failed mechanically. The internal contacts are welded closed. It must enter the trash can.
Diagnostic Evaluation Chart | ||
Observed Symptom | Likely Component Failure | Recommended Test Method |
|---|---|---|
Interior dome stays illuminated | Dimmer override / Door sensor | Visual audit / Sensor tap test |
Headlights refuse to turn off | Main headlight relay welded | Relay swap test / Multimeter continuity |
Rear brake lights stuck on | Brake pedal plunger switch | Floor mat inspection / Visual pedal check |
Random exterior lights flashing | Body Control Module (BCM) | Dealership scan tool diagnostics |
Diagnosis dictates your next move. You must weigh the cost-to-benefit ratio carefully. Some fixes require mere pennies. Other solutions demand significant investments. Making the right choice prevents identical failures next month.
Low-Cost Fixes (DIY friendly)
Many electrical issues resolve cheaply. If you identified a welded relay, rejoice. You simply walk into an auto parts store and purchase a replacement. Installation takes five seconds. Fixing a brake light switch involves equal simplicity. You buy a small plastic stopper for a few dollars. You push it into the hole on the pedal arm. Cleaning a door latch costs only the price of a contact cleaner can. These tasks require zero professional labor.
Component Replacement
Sometimes long-term electrical shorts cause severe collateral damage. An exterior bulb trapped in the "ON" state generates intense heat. This heat literally melts plastic headlight housings. It scorches wiring harnesses. In these scenarios, replacing a relay will not suffice. You must cut away melted wires. You must splice in new pigtail connectors. You may need to remove the entire front bumper to install fresh optical housings. This pushes the repair out of the beginner DIY category.
The Upgrade Pathway
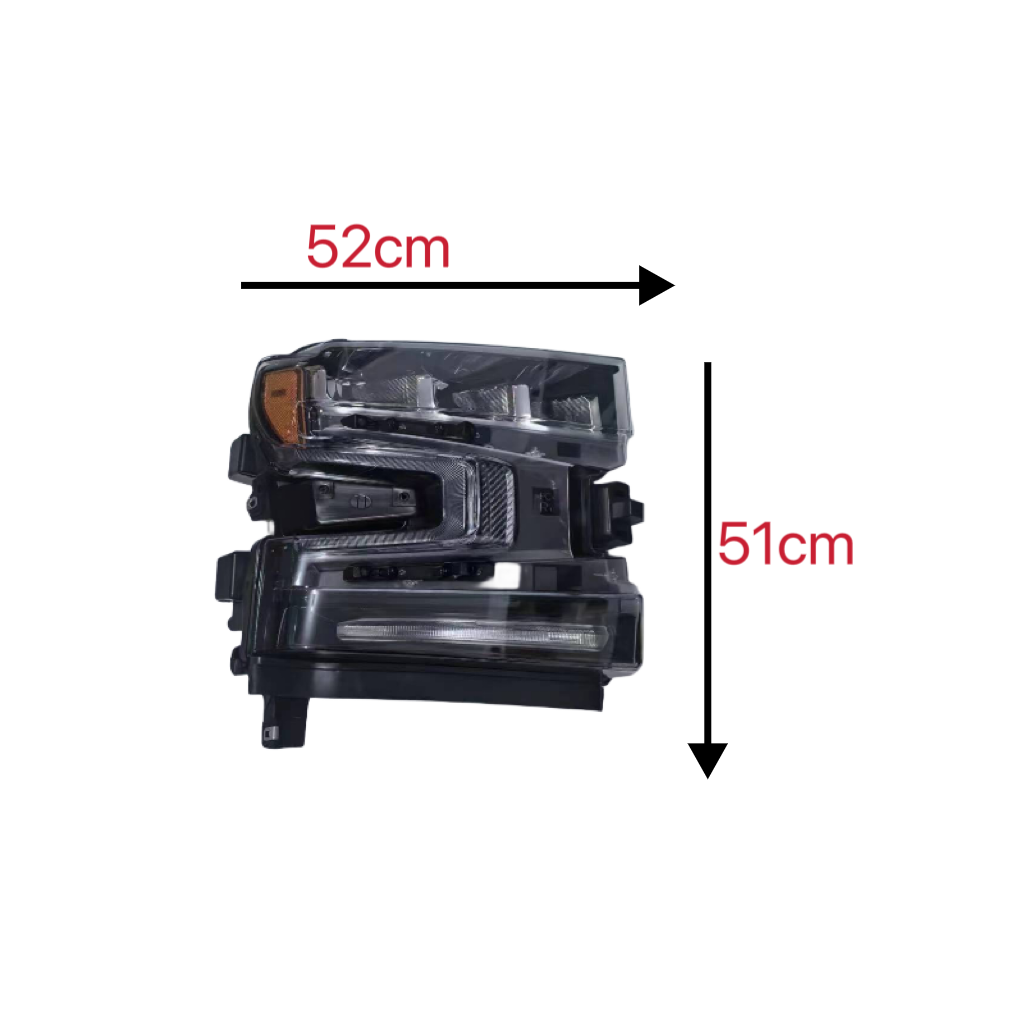
Original equipment (OEM) assemblies often suffer from inherent design flaws. Some vehicles burn out standard relays constantly. The factory circuits simply cannot handle extended heat. We strongly recommend viewing this failure as an opportunity. Consider upgrading to premium car lights.
High-quality LED assemblies feature built-in thermal management systems. They utilize solid-state micro-relays rather than physical metal contacts. This eliminates the risk of arcing and welding entirely. They pull significantly less amperage. This dramatically reduces the strain on your vehicle wiring harness. Treating this upgrade as a scalable, long-term investment improves driving visibility and permanently solves recurring parasitic drain issues.
When to Call a Professional
Set strict boundaries for your DIY efforts. If the relay swap fails, and the physical switches test perfectly, suspect the BCM. Stop immediately. BCM diagnostics require advanced, bi-directional scan tools. These computers cost thousands of dollars. Replacing a BCM requires dealership-level reprogramming. If you attempt to wire around a failed BCM, you risk destroying the main engine computer. Call an automotive electrician.
Knowledge protects you from catastrophic mistakes. Electrical systems do not forgive sloppy workmanship. You must understand the implementation risks before buying parts.
Never bypass a blown fuse. Never wire an accessory directly to the battery without proper circuit protection. Fuses blow to prevent fires. Bypassing them turns your wiring harness into a highly combustible heating element. Furthermore, avoid buying incredibly cheap, unverified aftermarket relays online. They often lack the internal resistors necessary to protect sensitive computer modules. A cheap relay fails quickly and takes expensive sensors down with it.
Understanding cost benchmarks helps you avoid predatory repair quotes. We base these transparent assumptions on standard industry pricing.
Relays and Switches: Expect to spend between $15 and $50. You perform the labor yourself. This represents the best-case scenario.
Door Latch Assemblies: A fully integrated door latch mechanism costs $100 to $250. You must remove the interior door panel to install it. Shop labor adds another $150 to this total.
BCM Diagnosis and Replacement: Professional intervention starts at $150 just for the diagnostic fee. A new BCM, combined with module programming and labor, easily ranges from $400 to over $1,000 depending on the vehicle brand.
Your next step requires decisive action. Make a shortlist of the required testing tools. Buy a cheap multimeter if you lack one. Schedule an appointment with a verified auto electrician if your symptoms point toward a BCM failure. Do not ignore the issue hoping it resolves itself.
A vehicle refusing to turn off its exterior or interior illumination signals a stuck, closed circuit. It rarely points to a catastrophic, unfixable electrical fire. Usually, the failure originates from a simple mechanical switch or an overworked, welded relay. Understanding how current flows empowers you to isolate the exact component causing the drain.
Your immediate next step remains clear. Go pull the specific lighting fuse right now to protect your battery chemistry. Run through the physical visual audit. Tap your door sensors. Perform the zero-cost relay swap test. Gathering this baseline data prevents you from wasting hard-earned money on unnecessary parts. Tackle the problem methodically, and you will restore normal operation safely and efficiently.
A: Most modern vehicles feature a "follow-me-home" delay system. The BCM keeps the headlamps illuminated temporarily to light your path to your front door. This is an intentional safety feature, not a fault. Check your vehicle settings menu; you can usually adjust this delay time or turn it off entirely.
A: Yes, though it occurs less commonly. When a battery drops to exceptionally low voltage, it causes computer modules to behave erratically. Furthermore, low voltage requires higher amperage to perform work, which causes relays to overheat and stick closed. Always ensure your battery is fully charged before running electrical diagnostics.
A: You can use the auditory "click" test alongside the swap method. Have a helper turn the headlight switch on and off while you place your finger on the relay. You should feel and hear a distinct mechanical click. If it remains silent, or if swapping it with an identical horn relay fixes the issue, the relay is dead.
A: Cheap aftermarket LEDs often cause dim glowing after the key is removed. This happens due to parasitic capacitance in low-quality circuits; they require so little power that residual line voltage illuminates them. Evaluating high-quality, CANbus-compliant premium options eliminates this issue by utilizing proper internal load resistors.


